This project has been part hard work and part exciting adventure. It began with a dresser in need of an update and finished with a sliding barn door cabinet painted in clean white with a carbon grey stained top.
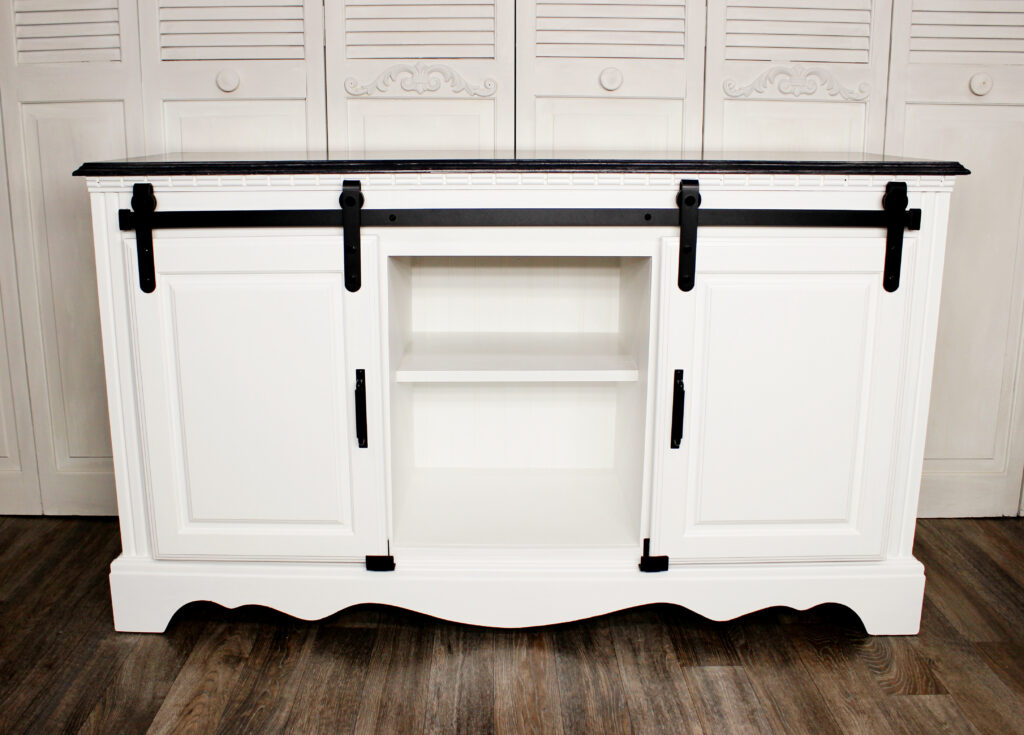
Before I get in to all of the details involved in this redesign, here is a picture of the finished Barn Door Cabinet.
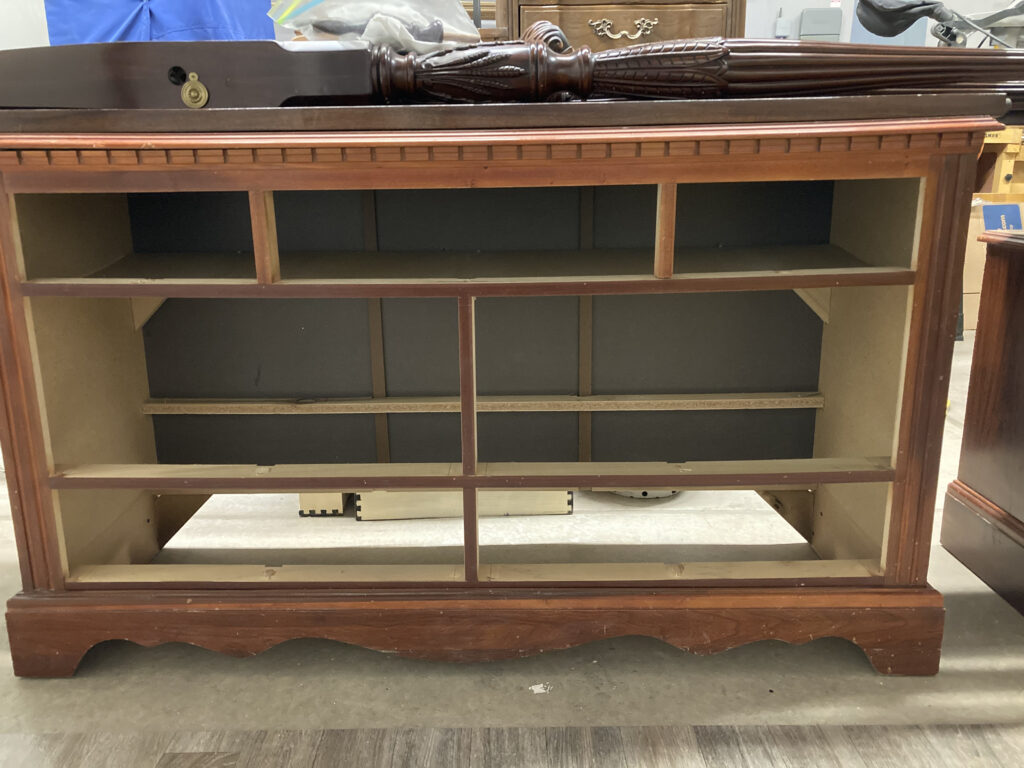
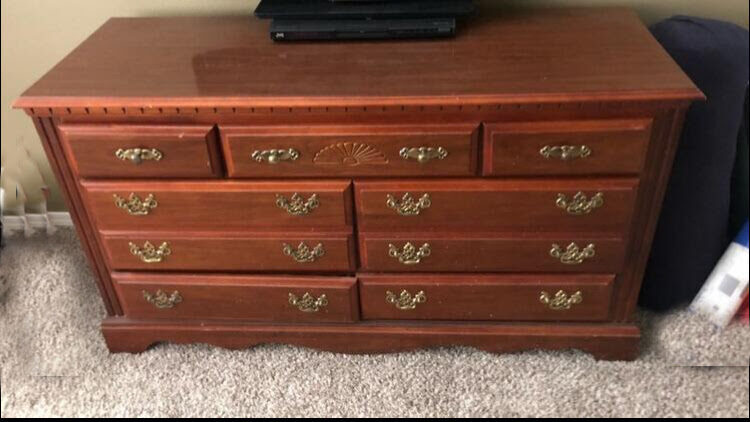
I began by removing all the drawers and drawer runners. Here is what it looked like at the start of the redesign project. This is a good time to look at the condition of the cabinet structure and determine if any additional support bracing will be needed for the project.
Supplies Used
- Barn Door Hardware sourced from Amazon
- 1/2″ Plywood sheeting, 1×2″ framing lumber
- 2’x4′ Wainscoting Paneling
- Zinsser Premium3 Primer
- Fusion Mineral Paint Picket Fence
With all of the drawer face framing removed, I added an additional support board inside across the back to attach the wainscoting that will finish the back wall of the cabinet.
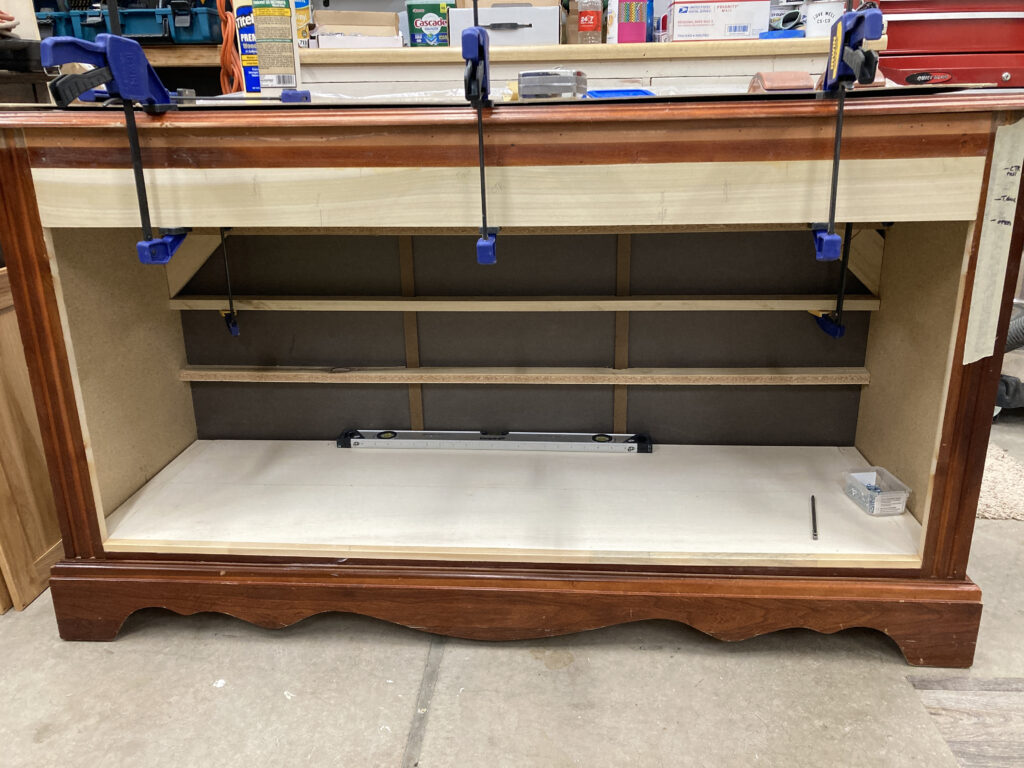
Using 1/2″ plywood I cut and installed the new floor board for the cabinet. If you don’t want the front edge of the plywood to show this is a good time to add a piece of thin trim board to cover the edge. This is also the time to determine the size of the barn door hardware you will need and to plan the door size and center opening size of the cabinet.
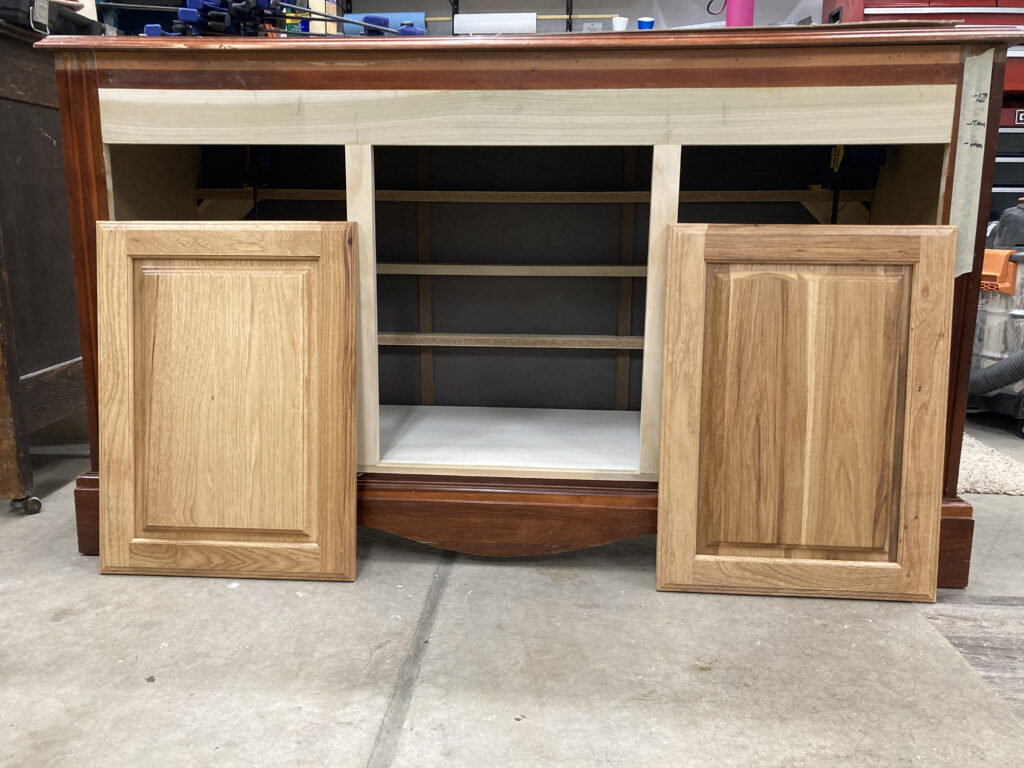
For this project I will use doors that I already had so I sized the openings to fit them. Then from 1×2″ lumber I cut the two vertical face frame boards and attached them to the header board and the floor board using glue and pocket screws.
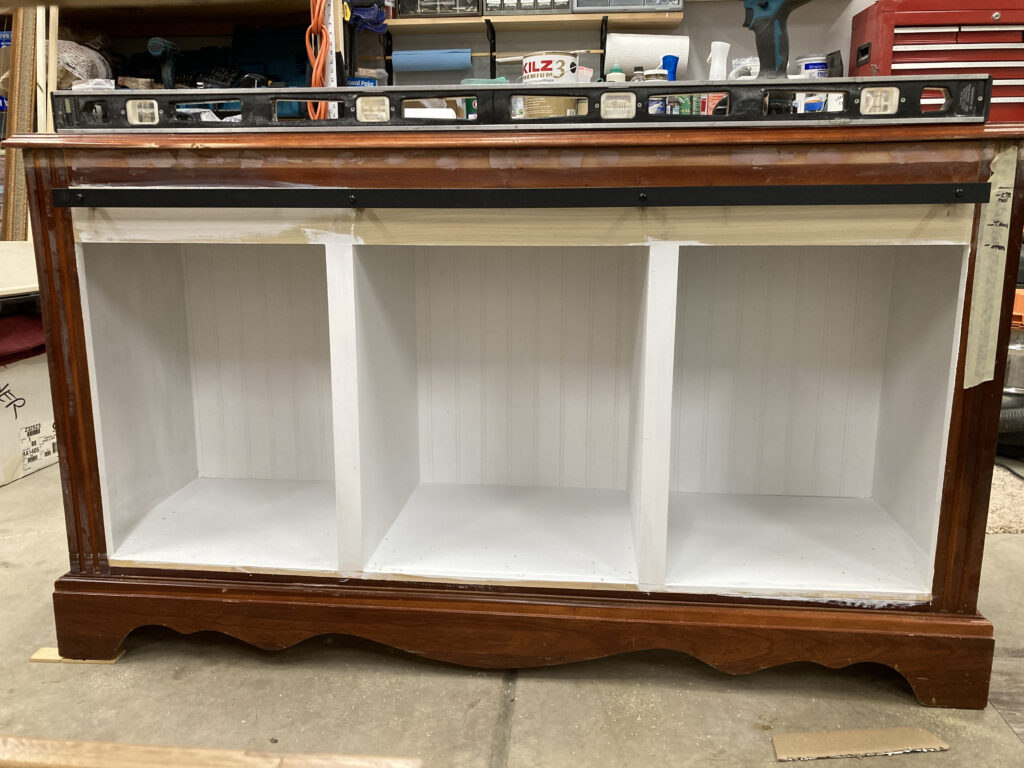
The two dividers were cut to fit from 1/2″ plywood and secured using pocket screws into the back wall, floor and front facing boards. The wainscoting was cut to fit and glued and nailed to the back wall supports. I primed all bare wood and lightly sanded and then primed the complete cabinet before finish painting. I then mounted he new barn door hardware to the cabinet frame and doors using the manufactures instructions.

With two coats of Fusion Mineral Paint Picket Fence the Redesigned Dresser with Barn Doors is complete. The two end tables that you see in this picture were also redesigned to match this project and you can see how that was done in the blog, How to Redesign End Tables. Hope you enjoyed walking thru this project with me and might even be inspired to use barn doors for a redesign project of your own.