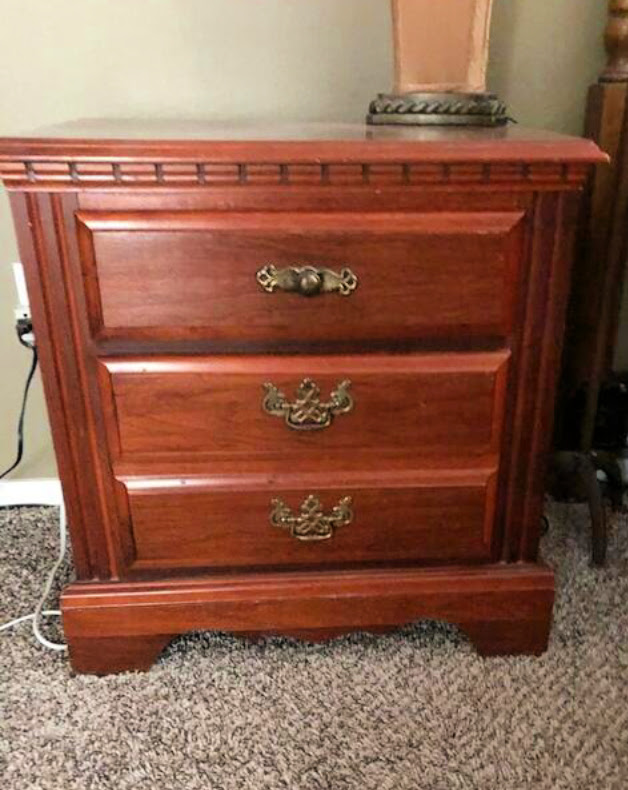
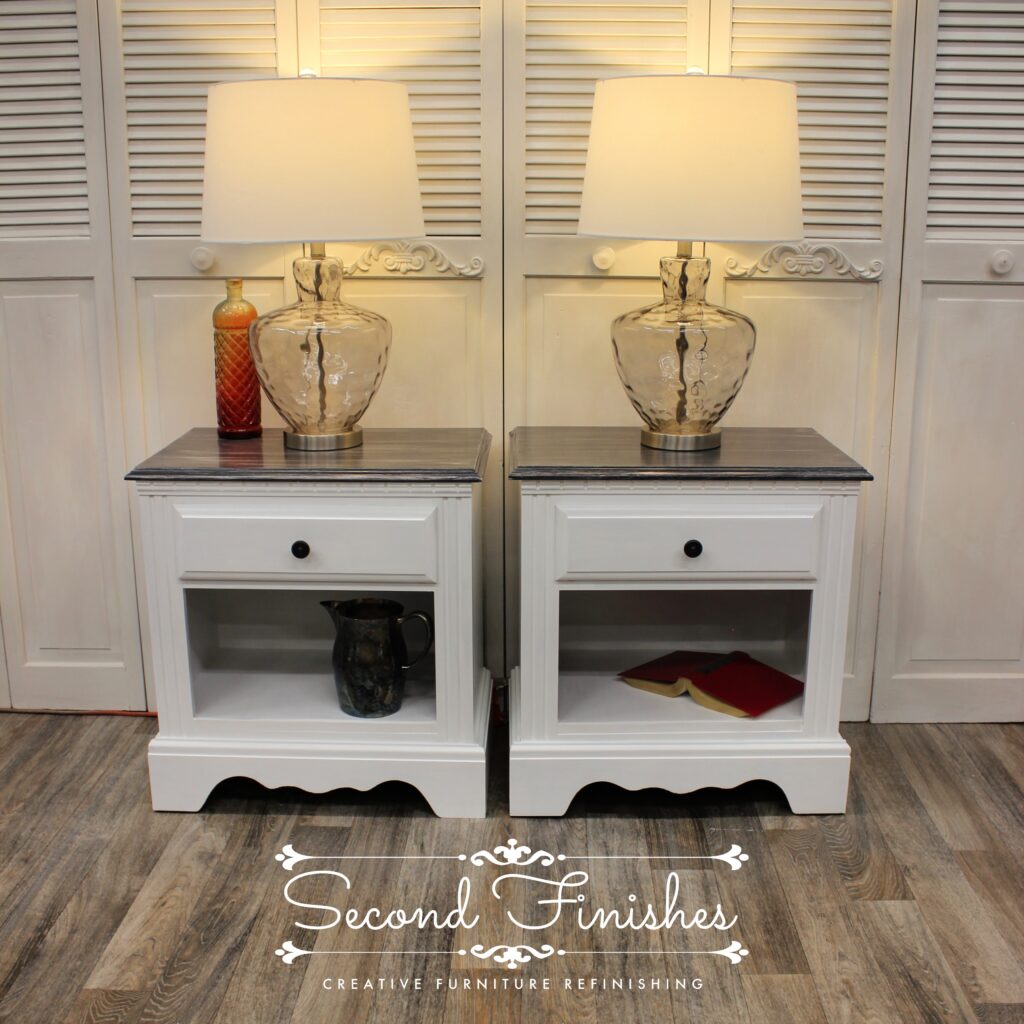
This was a small project that made a big difference in the look and function of the piece. When I first saw these end tables they looked old and tired, and I personally don’t like having only drawers to hold all of my bedside things. I like having my favorite book or books on a shelf to inspire me to pick them up and read. So taking a new look at this pair of end tables I decided to remove the large lower drawer to make an open shelf space and leave the one small drawer.
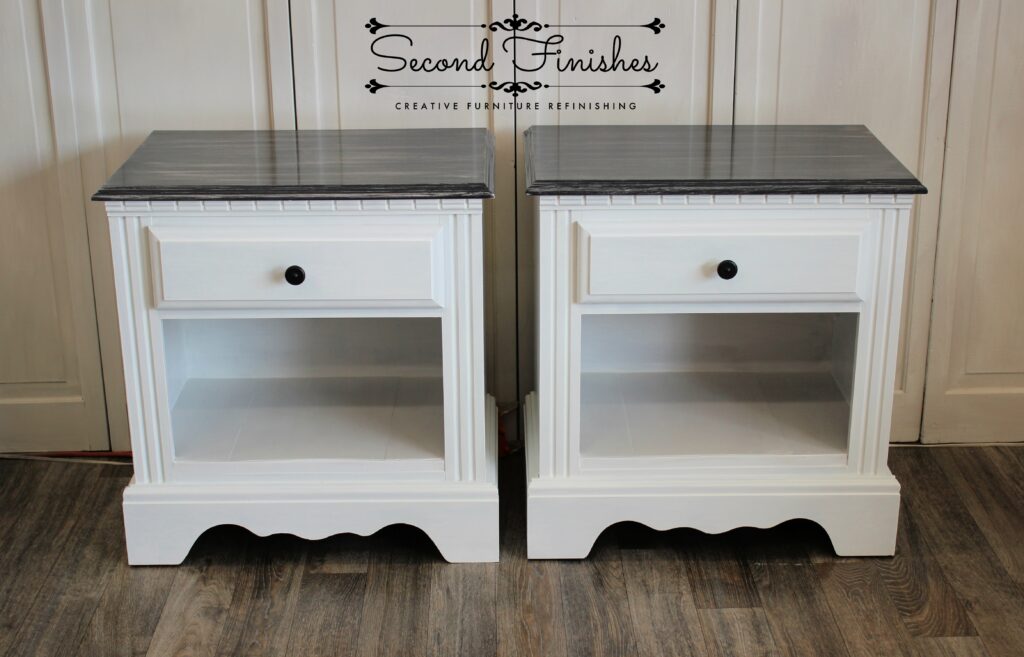
These are the finished end tables, painted in a clean white with a carbon grey stained top, having one drawer with open shelf space. In the post, Faux Painted Formica Update, I describe how by using GF Gel Stain I was able to give a new look to an old and boring formica top.
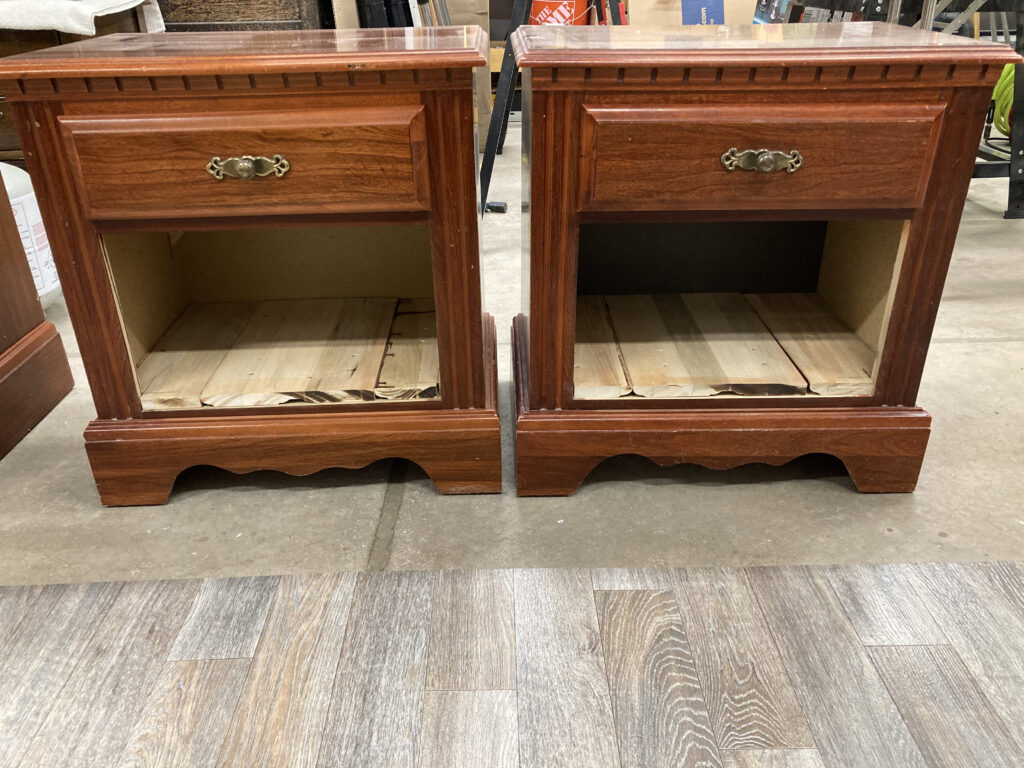
The first thing needing to be done was remove the lower drawer and drawer runners from each end tables. The unused drawer fronts were solid wood so I reused them to build the bottom shelf in each end table. I covered the front edge of the shelf with a thin piece of trim board and caulked any gaps in the new shelf before painting.
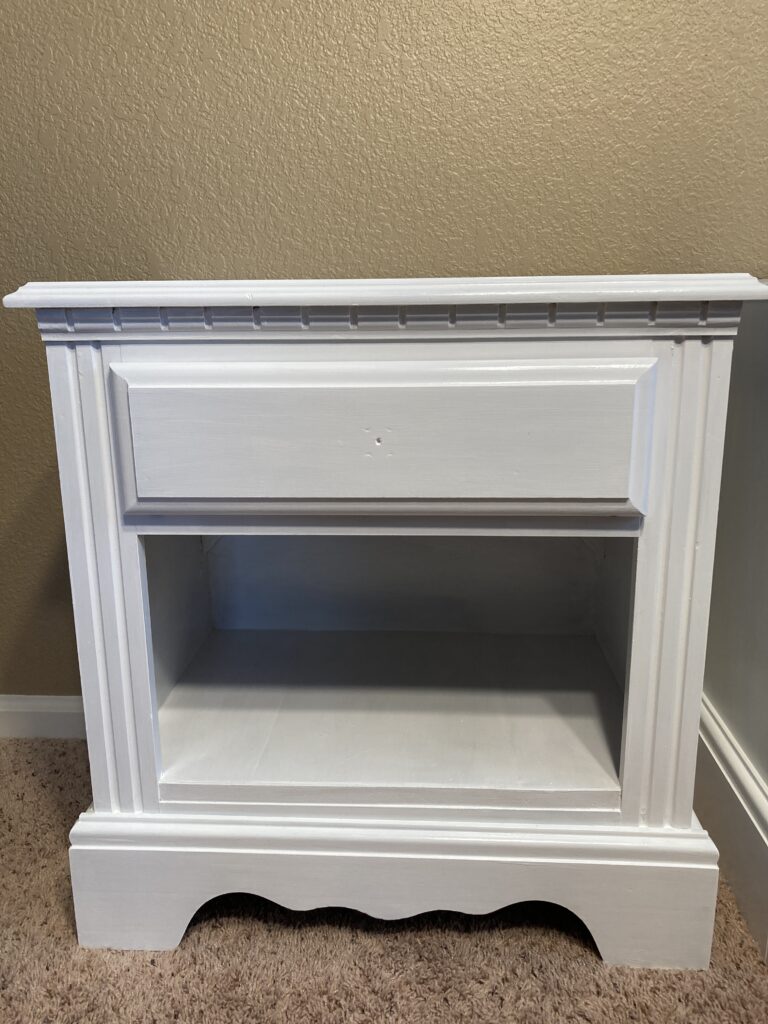
After washing with TSP and lightly sanding, the end tables were ready for primer. Because they were to be painted white I used Kilz Premium to prevent any bleed thru from the previous stain and to help the white paint to cover better.
Supplies Used
- TSP
- Sandpaper in 60 and 120 grits
- Kilz Premium Primer
- Caulk, paintable white
- Fusion Paint Picket Fence
- General Finishes High Performance Semi Gloss
It did require two coats of paint to completely cover the original dark finish and one additional coat of GF HP Semi-gloss top coat to give the paint additional durability.
After seeing what a big difference a few small changes can make, I hope you have been inspired to look at furniture with an eye to the possibilities they hold.